The Ultimate Checklist for Water Heater Installation in East St Paul
Introduction to Water Heater Installation
When it comes to home comfort, few appliances play a more critical role than your water heater. Whether you’re upgrading an old unit or installing a new one, ensuring it’s done correctly is crucial to avoid future headaches. If you're planning an installation in East St Paul, this ultimate checklist will guide you through the process.

Pre-Installation Considerations
Choosing the Right Water Heater
Before installation, it’s essential to choose the right type of water heater for your home. The main types include tankless, conventional storage water heaters, and heat pump water heaters. Consider factors like energy efficiency, size, and capacity to meet your household's hot water needs.
Permits and Regulations
In East St Paul, local regulations may require permits for water heater installation. Check with your local municipality to ensure you have the necessary approvals before starting the project. This step is critical to ensure compliance with local building codes and safety standards.
Installation Process
Gathering the Necessary Tools and Materials
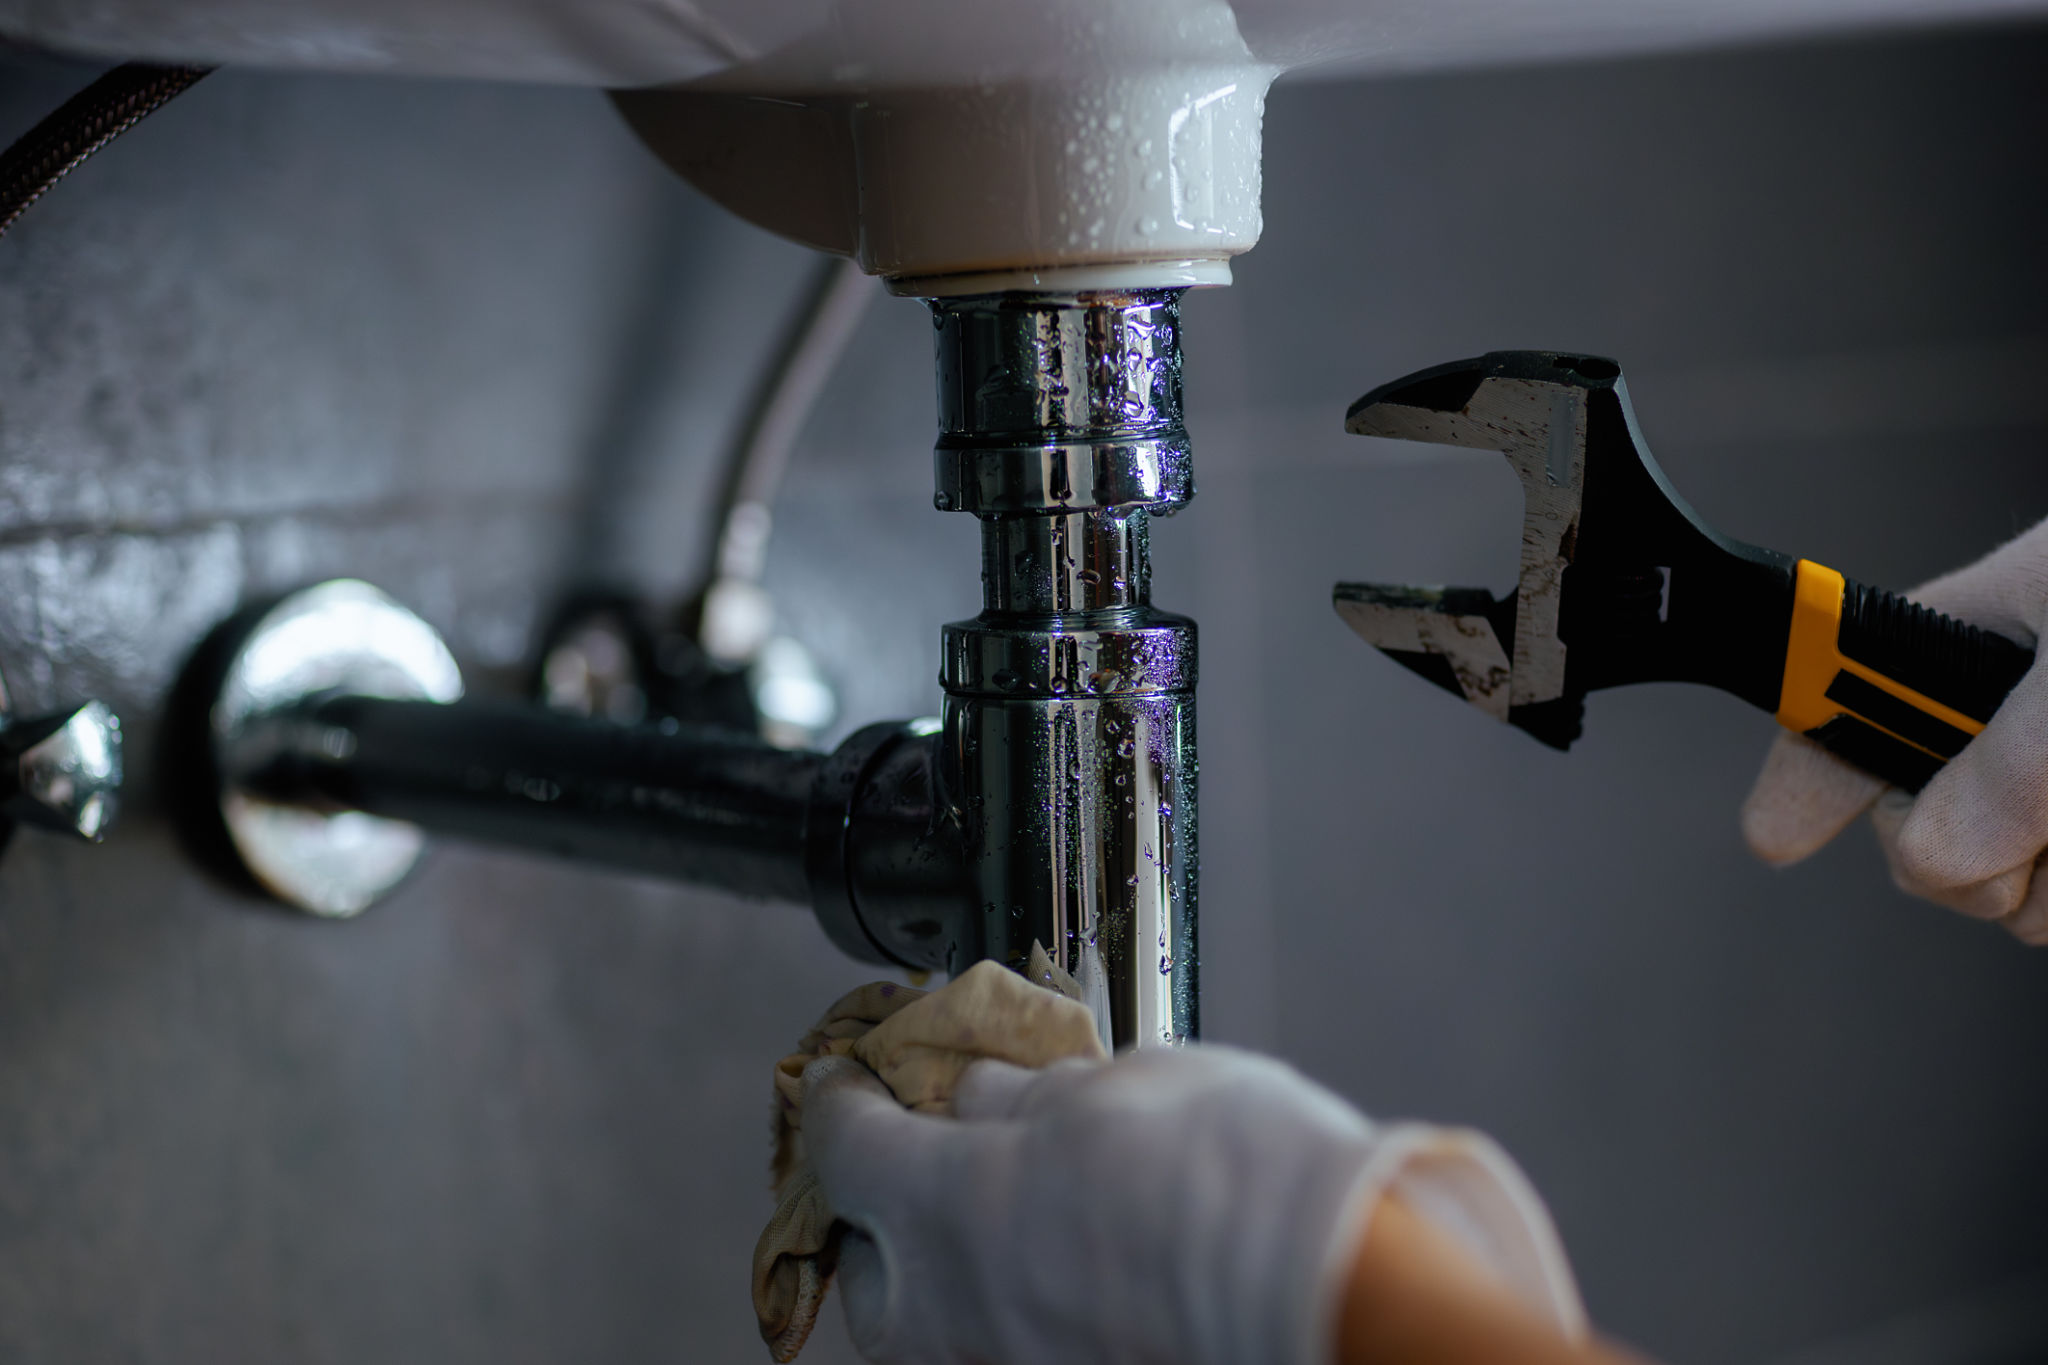
Having the right tools and materials at hand will make the installation process smoother. Essential tools include a pipe wrench, adjustable pliers, a hacksaw, and a level. You’ll also need materials like Teflon tape, pipe fittings, and a discharge pipe.

Disconnecting and Removing the Old Unit
Begin by turning off the water supply and power to the existing water heater. Drain the tank by attaching a hose to the drain valve. Once drained, disconnect the pipes and remove the old unit carefully. It’s crucial to handle this step with care to avoid water damage.
Setting Up the New Water Heater
Positioning the New Unit
Place the new water heater in its designated spot, ensuring it’s level. Adequate spacing around the unit is necessary for maintenance and proper ventilation. Refer to the manufacturer’s guidelines for specific positioning requirements.

Connecting Water and Electrical Supplies
Attach the cold water supply line to the inlet and hot water line to the outlet of the unit. Use Teflon tape on threads to ensure a watertight connection. If your unit is electric, connect the power supply according to the manufacturer’s instructions.
Post-Installation Steps
Testing and Final Adjustments
After installation, it’s time to test the unit. Turn on the water supply and power, then check for leaks or unusual noises. Adjust the thermostat to your desired temperature, typically around 120°F for optimal energy efficiency.
Routine Maintenance Tips
Regular maintenance is key to extending the lifespan of your water heater. Schedule periodic inspections and flush the tank annually to remove sediment buildup. These simple steps can help maintain efficiency and prevent costly repairs down the line.
By following this comprehensive checklist, you can ensure a seamless and successful water heater installation in East St Paul. Whether you decide to tackle this project yourself or hire a professional, informed decisions will lead to long-term satisfaction with your home's hot water system.
